 |
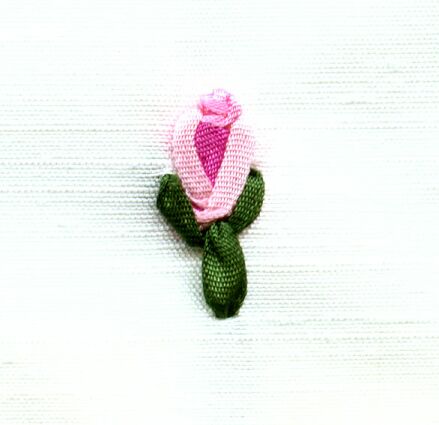
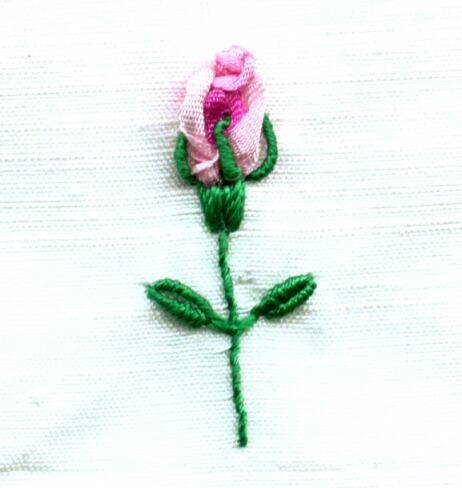
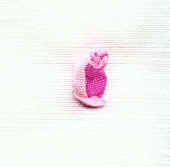
Step 1
Padded Straight Stitch |
|
|
 |
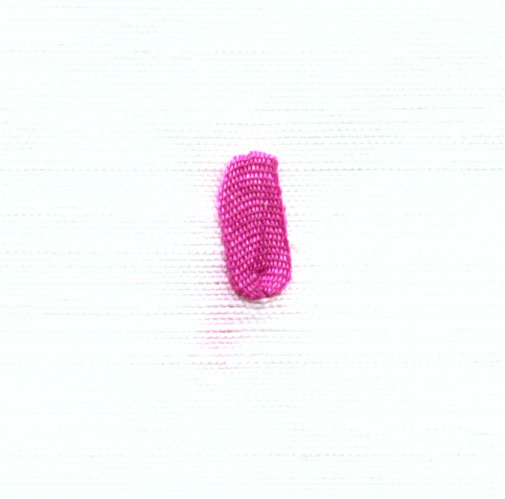
Step 2
Add Single-wrapped French
Knot |
|
|
 |
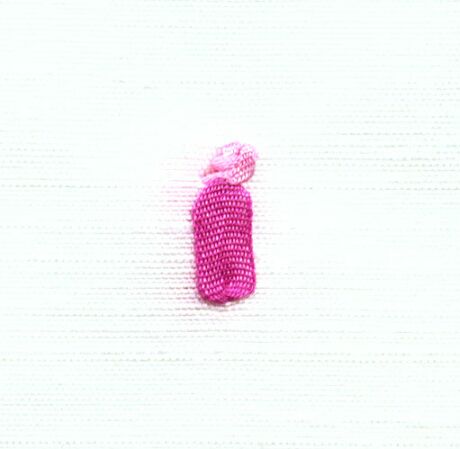
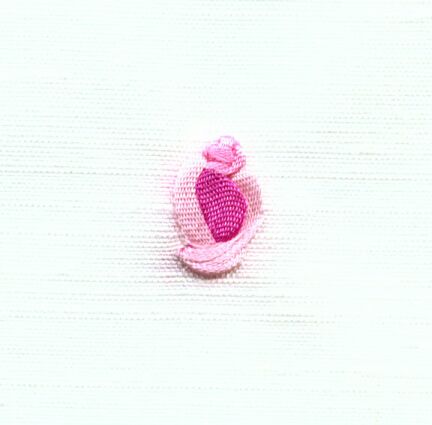
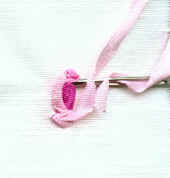
Step 3
Add the first side Ribbon
Stitch
|
|
|
 |
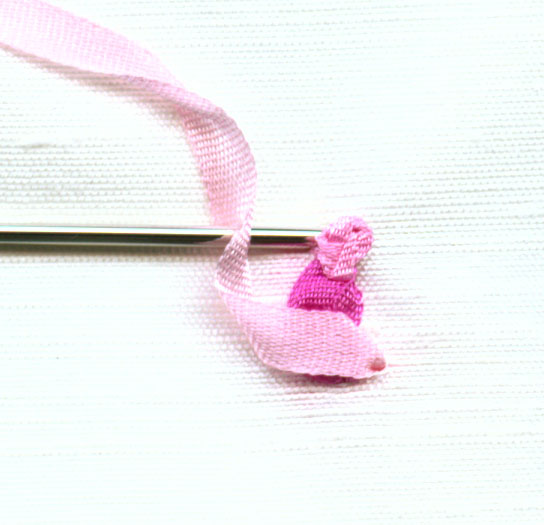
Step 3A
Pull ribbon to back to
slightly curl edge |
|
|
 |
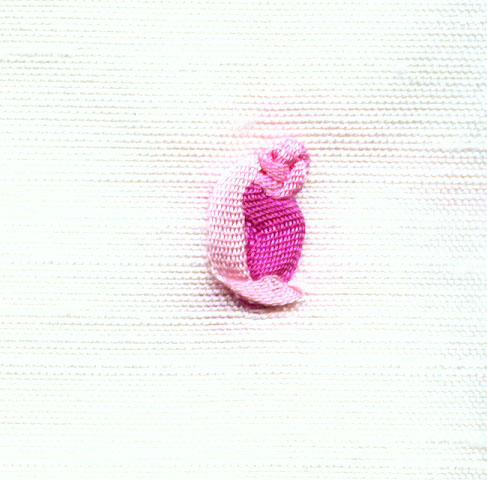
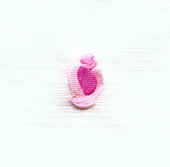
Step 4
Add other side Ribbon Stitch Step |
|
|
 |
Step 4A
Pull ribbon gently back
to slightly curl edges |
|
|
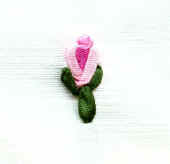 |
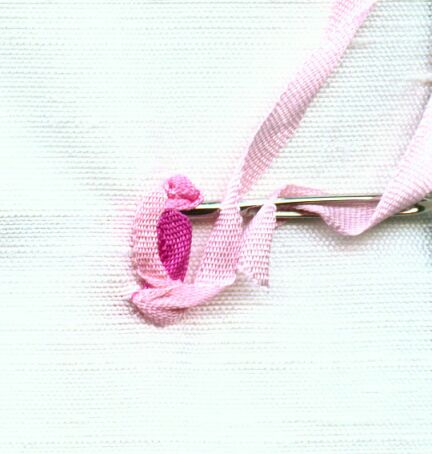
Step 5
Add Fly Stitch to base of
rosebud. |
|

|
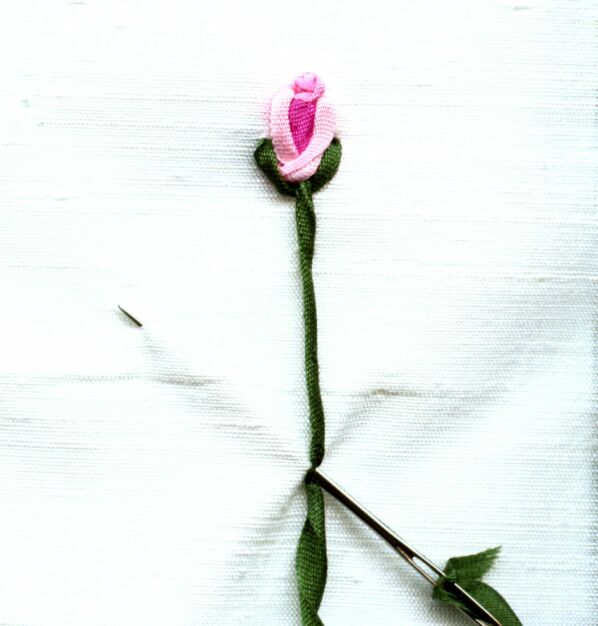
 Alternate Greenery
 |
| Fly
Stitch with Long Rolled Stem |
 |
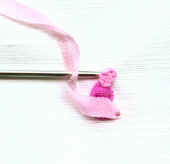
Work
the Fly Stitch side sections and bring needle up at base of rose.
Twirl the needle clockwise between
thumb and finger 5 to 7 times (depending on ribbon length...fewer times
for shorter ribbon).
Insert needle into fabric at
desired end point of the stem and pull needle through. Add Ribbon
Stitch leaves if desired. |
|
|
| Satin
Stitch Base / Whipped Backstitch Stem / Bullion Sepals &
Leaves |
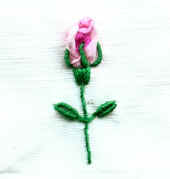 |
Work Satin Stitching at the base of the bud as shown. Work a line
of Backstitch then Whipstitch over it for the stem.
Work 3 Bullion Stitch sepals: one each at left, center and right.
Each of the outer bullion should catch the edge of the ribbon to tack in
place.
The center stitch is worked through the ribbon, and may
compact the flower slightly; you can use the blunt end of your needle to
lift the ribbon up from beneath. |
| Work
2 Straight Stitches for leaf stalks, and 2 Bullion Stitches for each
leaf (or add Ribbon Stitches if you prefer). |
|
|